
Flower Forest Level 90 Answer
F, I, G, C is the answer for Flower Forest level 90, where small land fragments beneath a magnifier must be turned and shifted into a clue. Focus on the central lens before using the parchment letters. After the fourth choice, confirm with the flower button.

A colorful folded map lies on a wooden table, held near its upper edge by a blue pushpin. A large round magnifier covers the center and contains four small rectangular views of map fragments. Trees, a stepped pyramid, a sailing ship and a waterfall decorate the larger islands. Part of a brown pipe rests beyond the map at the upper right.
Work inside the Lens
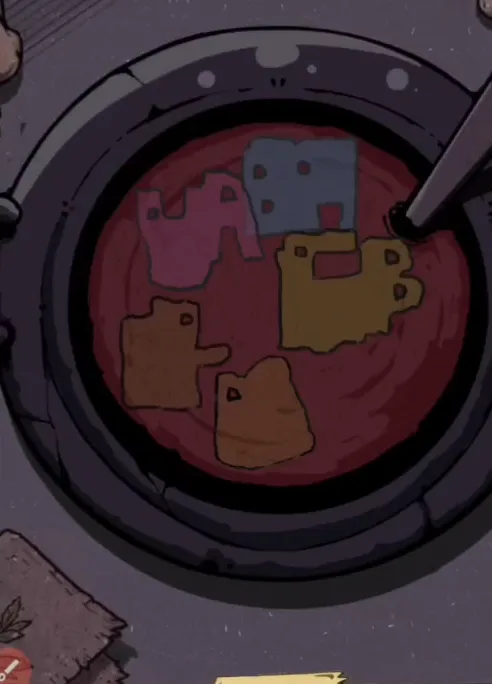
Begin with the small fragments framed by the large round magnifier. They can be turned and moved, allowing the clue to take shape without needing to interpret every island on the outer map.
- Locate the circular magnifier in the middle of the unfolded map.
- Turn and shift the small land fragments beneath its lens, working on one piece at a time.
- Use the assembled clue to select the four required letters on the three by three parchment.
- Press F, I, G, C in order, followed by the flower control.
The outer map offers many colorful shapes, so it is easy to spend time trying to read its whole coastline. Narrowing your attention to the lens makes the task much smaller: the movable fragments there are the pieces that build the clue. Adjust one fragment, look at the change, and then continue with the next. This keeps the relationship between your movement and the picture clear instead of changing everything at once.
Turning and shifting do different jobs in this puzzle. Turning changes which way a fragment faces, while shifting changes where it sits relative to the others. A piece that looks plausible in isolation can still fail to fit the combined picture when its position is wrong. Finish arranging the fragments before transferring the four letter result to the parchment, where F must be your first choice and C your last.
Video: level 90 map with magnifier from start to finish
Follow the adjustments to the fragments beneath the magnifier and compare the completed arrangement with your own. The walkthrough ends after the four letter answer brings up the flower inside its glass dome.

From Map Pieces to Taps
Treat the finished picture under the magnifier as the clue for four choices on the parchment. The required order is F, then I, then G, then C. This is not an alphabetical list, and it does not follow a simple sweep across a row. Keep the entire sequence in mind when leaving the small map pieces and returning to the letters below the scene.
You can check the tap locations against the fixed grid without adding any more map moves. F occupies the right side of the middle row, I is beneath it, and G is at the other end of the bottom row. C returns you to the upper right corner. Those locations are a practical way to check the answer sequence, rather than a separate instruction to redraw the outer map or move its illustrated landmarks.
Avoid the Outer Islands
If the colorful coastline keeps suggesting several different answers, narrow the task back to the circle in the center. The small fragments are movable, whereas the large collection of illustrated islands can distract you from that action. Work through their orientation and position separately so you can see which adjustment helps. The pushpin and wooden table identify the scene but do not supply an extra letter for the answer.
It is also possible to finish the picture and lose the order while locating the letters. F and I share the right column of the grid, but G sends you across to the lower left before C takes you upward again. Do not replace that jump with a more convenient sweep along the nearest row. Four correct letters in a different sequence still leave the map puzzle unfinished, so check the middle pair before confirming.
Frequently Asked Questions
What is the Flower Forest level 90 solution?
Enter F, I, G, C for the map with the central magnifier, then use the flower control. The scene asks you to turn and shift the small land fragments under the lens until a clue is assembled. Its result is four letters, regardless of how many colored islands appear elsewhere on the map.
Which parts of the map should I move?
Work with the small fragments beneath the round central magnifier. Turn them to adjust their orientation and shift them to change their positions in the clue. Keeping the task inside that circle avoids confusing the movable pieces with the many larger islands, trees and buildings illustrated around the rest of the map.
Does the blue pushpin give the first letter?
The four letter solution comes from the clue assembled under the magnifier, rather than from the blue pushpin. F is the first parchment choice, with I following it. Use the pin as a way to recognize the map scene and keep your actual adjustments focused on the small fragments within the lens.
How do I locate F, I, G, C on the grid?
F is middle right, I is bottom right, G is bottom left and C is top right. Those locations help you enter the map answer without accidentally following a normal row. Move your attention from one required choice to the next, since the sequence makes two larger jumps after its opening right column pair.
Why does the map stay unsolved after four taps?
Check that the four map choices were F, I, G, C in that order and that you pressed the flower afterward. Selecting the correct set with I and G exchanged is still a different answer. Each tap makes a letter disappear, so count your choices while also checking the sequence they followed.
Read next

The letter order for every level is in one table on the Flower Forest answers for all levels page. Official store links are on the download page.