
Flower Forest Level 120 Answer
Enter I, E, G, C to finish Flower Forest level 120 after sliding the four wooden boards together on the wall. Their holes and hanging letters supply the clue once the separate pieces are beside one another.
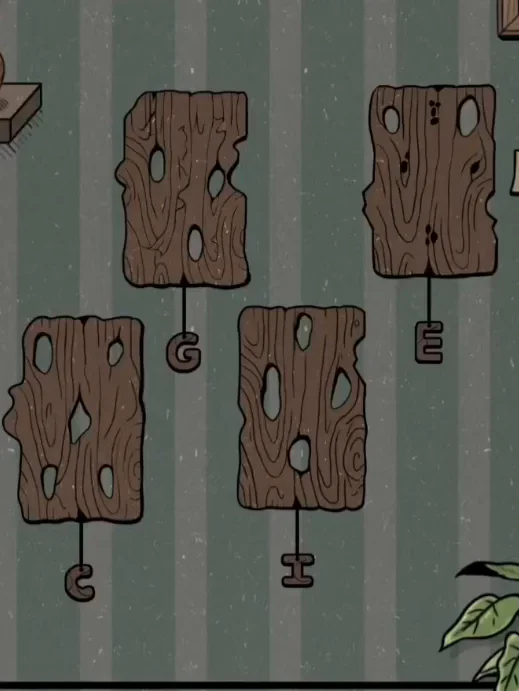
Four rough wooden boards hang against green vertically striped wallpaper. The upper pair has G suspended below the left board and E below the right. Lower down, the left board carries C and the middle board carries I. Irregular holes reveal the wallpaper behind the wood, and leafy branches enter from the lower right corner.
Slide the Hanging Boards
Bring the wooden panels beside one another before treating their visible letter tags as an answer. The gaps and holes are part of a combined clue, so four separate boards give you the pieces without yet showing the intended sequence.
- Identify the four hanging boards and their small G, E, C and I tags.
- Slide the boards along the wall until the panels are next to one another.
- Compare the holes and the suspended letters in the gathered arrangement to establish their order.
- Tap I, E, G, C on the parchment and press the flower button to its right.
The panels begin at different heights and distances, so their arrangement makes the tags look like a ready-made list. Moving them together changes how their holes relate to the neighboring pieces. Keep your attention on the wood as it shifts, with the little hanging letter identifying the board you are following. You are gathering the parts of one clue rather than selecting the first tag that catches your eye.
Once the four boards sit beside each other, compare the openings together with the letters underneath. Use the completed arrangement to establish the sequence instead of returning to the original upper and lower pairs. The letters themselves were visible from the beginning; their presence alone was never the missing information. The useful change is the relationship between the panels after they have been brought together on the striped wall.
Video: level 120 hanging wooden boards from start to finish
Follow the panels moving together on the striped wall, then compare the letter entry with the finished clue. The successful solve reaches the reward flower enclosed beneath glass.

Order the Letter Tags
The combined board clue leads to I first, E second, G third and C last. Do not use G, E, C, I merely because those are the labels visible in the scattered starting picture. The puzzle has already given you the four available letters; bringing the boards together tells you how to arrange those choices. Look at the holes and tags as parts of the same gathered picture instead of counting just one kind of detail by itself.
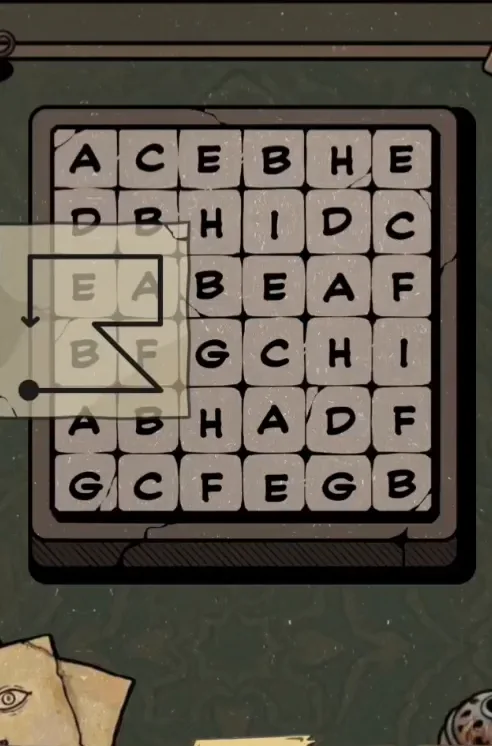
To enter the result, find I in the lower right of the parchment, E at center, G in the lower left and C in the upper right. The travel across the letter square is different from the motion of the wooden boards. Use those four positions as a check after reading the clue, especially if a hanging tag was small enough to overlook. The selected letter vanishes each time, so an empty lower right corner after the first tap helps you keep your place as you move to E.
Avoid the Starting Arrangement
The most tempting mistake is entering the letters before moving the boards because all four tags can already be seen. That skips the part of the scene that establishes their order. The original upper left G is useful for recognizing a board, but it does not make G the first tap. Finish the panel arrangement and then start your entry at I.
Small openings and hanging labels can draw your attention away from the relationship between the panels. Inspect the whole gathered set instead of judging a single board in isolation. Keep the final four choices in mind as you move to the parchment, where C must remain untouched until the end. After entering C, use the separate flower button so that the completed sequence is checked.
Frequently Asked Questions
What is the answer to the wooden boards on level 120?
I, E, G, C solves the wooden-board scene on level 120. Slide the panels together so their holes and hanging labels form the clue, then use that sequence on the parchment. The flower button sits to the right of the letter area and needs to be pressed after the final C.
How do I reveal the clue in the hanging boards?
Slide all four wooden boards next to each other on the wall. Their separate starting positions show the available letters without giving their correct order. Compare the openings in the gathered panels with the tags hanging underneath, then enter I, E, G, C once you have examined the complete arrangement.
Why is G, E, C, I the wrong order?
G, E, C, I follows the scattered starting display instead of the completed board clue. The correct order begins with I and ends with C, with E and G between them. Moving the panels is the step that establishes that sequence, so seeing all four labels at the start does not finish the puzzle.
Do I count the holes on each wooden board separately?
Bring the boards together and read the combined hole-and-letter clue rather than choosing letters from isolated panels. The openings and tags work together after the wood is gathered. Keep I, E, G, C as your entry order and compare the whole arrangement before you decide which hanging label should come first.
What should I do after tapping C on the board puzzle?
Press the flower control after C, provided your earlier taps were I, E and G. Selecting the letters alone leaves the entry unfinished. A correct completed answer produces the flower beneath its dome, while the disappearing parchment letters let you track how many choices you have already made during the attempt.
Read next
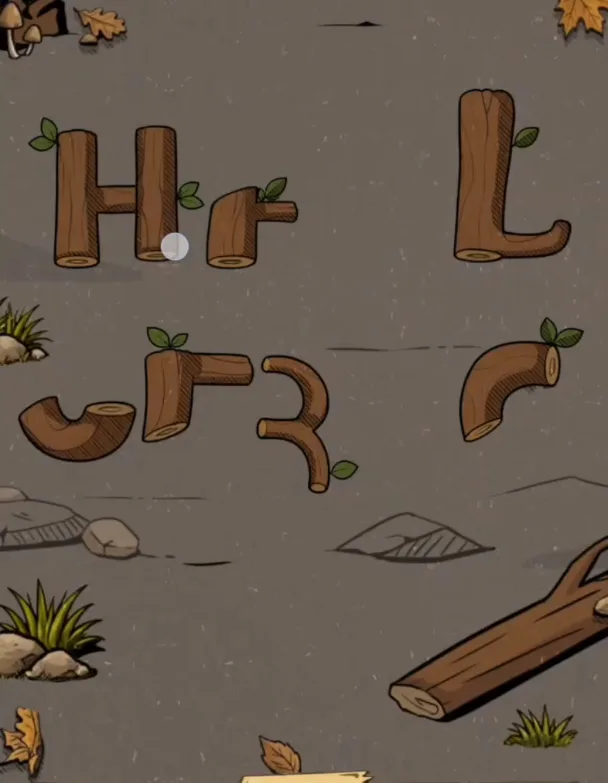
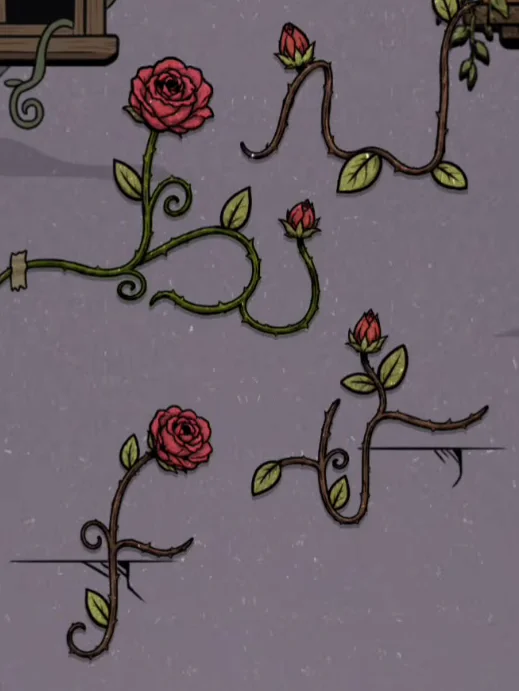

The letter order for every level is in one table on the Flower Forest answers for all levels page. Official store links are on the download page.